Tisalabs Knowledge Base
Predictive offers DNS Record Based Asset Ownership Verification.
This method, although not as popular as TXT File based method, allows you to verify your asset without having to modify it. Simply verify the asset by adding a TXT record to the main domain.
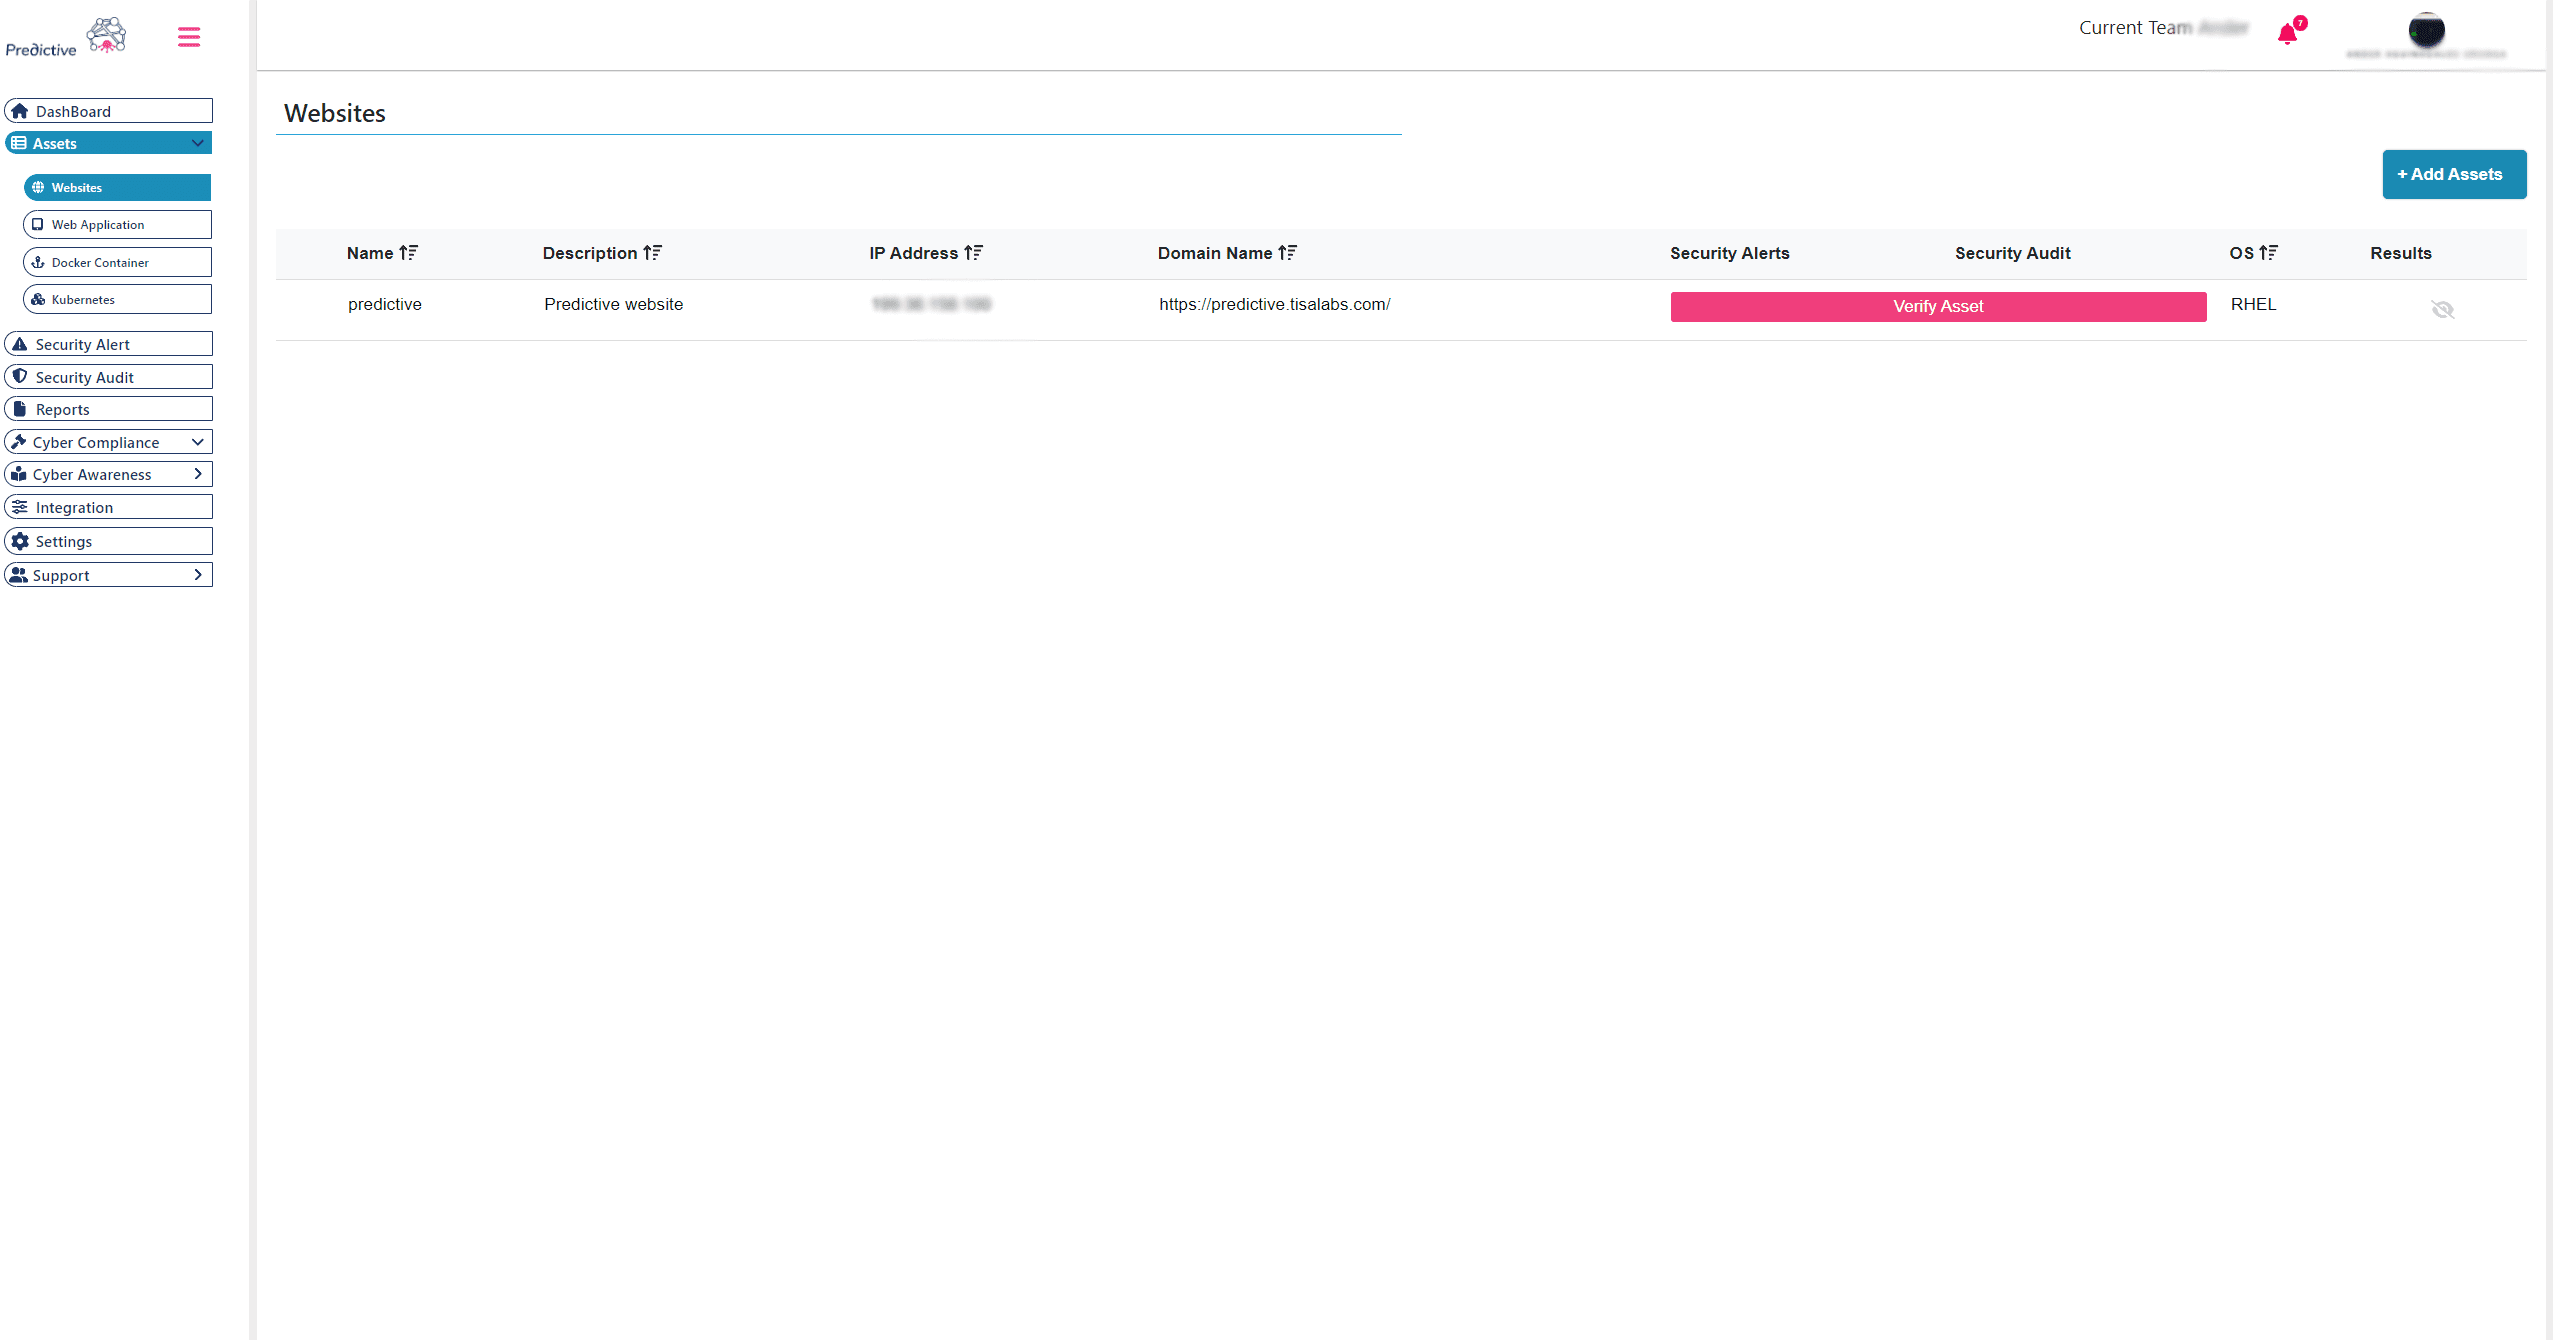
Open the verification modal by clicking on the Verify Asset button:
2. Select the Add DNS TXT Record Option
When the modal opens 2 options are offered, select the second option, Add DNS TXT Record:

3. Copy the unique TXT value
Copy the text inside of the Value box.
Go to your DNS Provider settings, this process will change depending on the provider you are using, some common examples can be found below:


6.Verify Asset
Click on the Verify button:

This process will not take more than a few short seconds, once your domain has been verified you will see a success message in the modal.
Now you have full access to your asset, you will see that the Verify Asset button dissapeared and in place you have the Configure and Start button:
For a complete tutorial on how to verify asset ownership on Predictive Check, watch the following video:
If you still can't find an answer to what you're looking for, or you have a specific question, open a new ticket and we'd be happy to help!
Contact Us